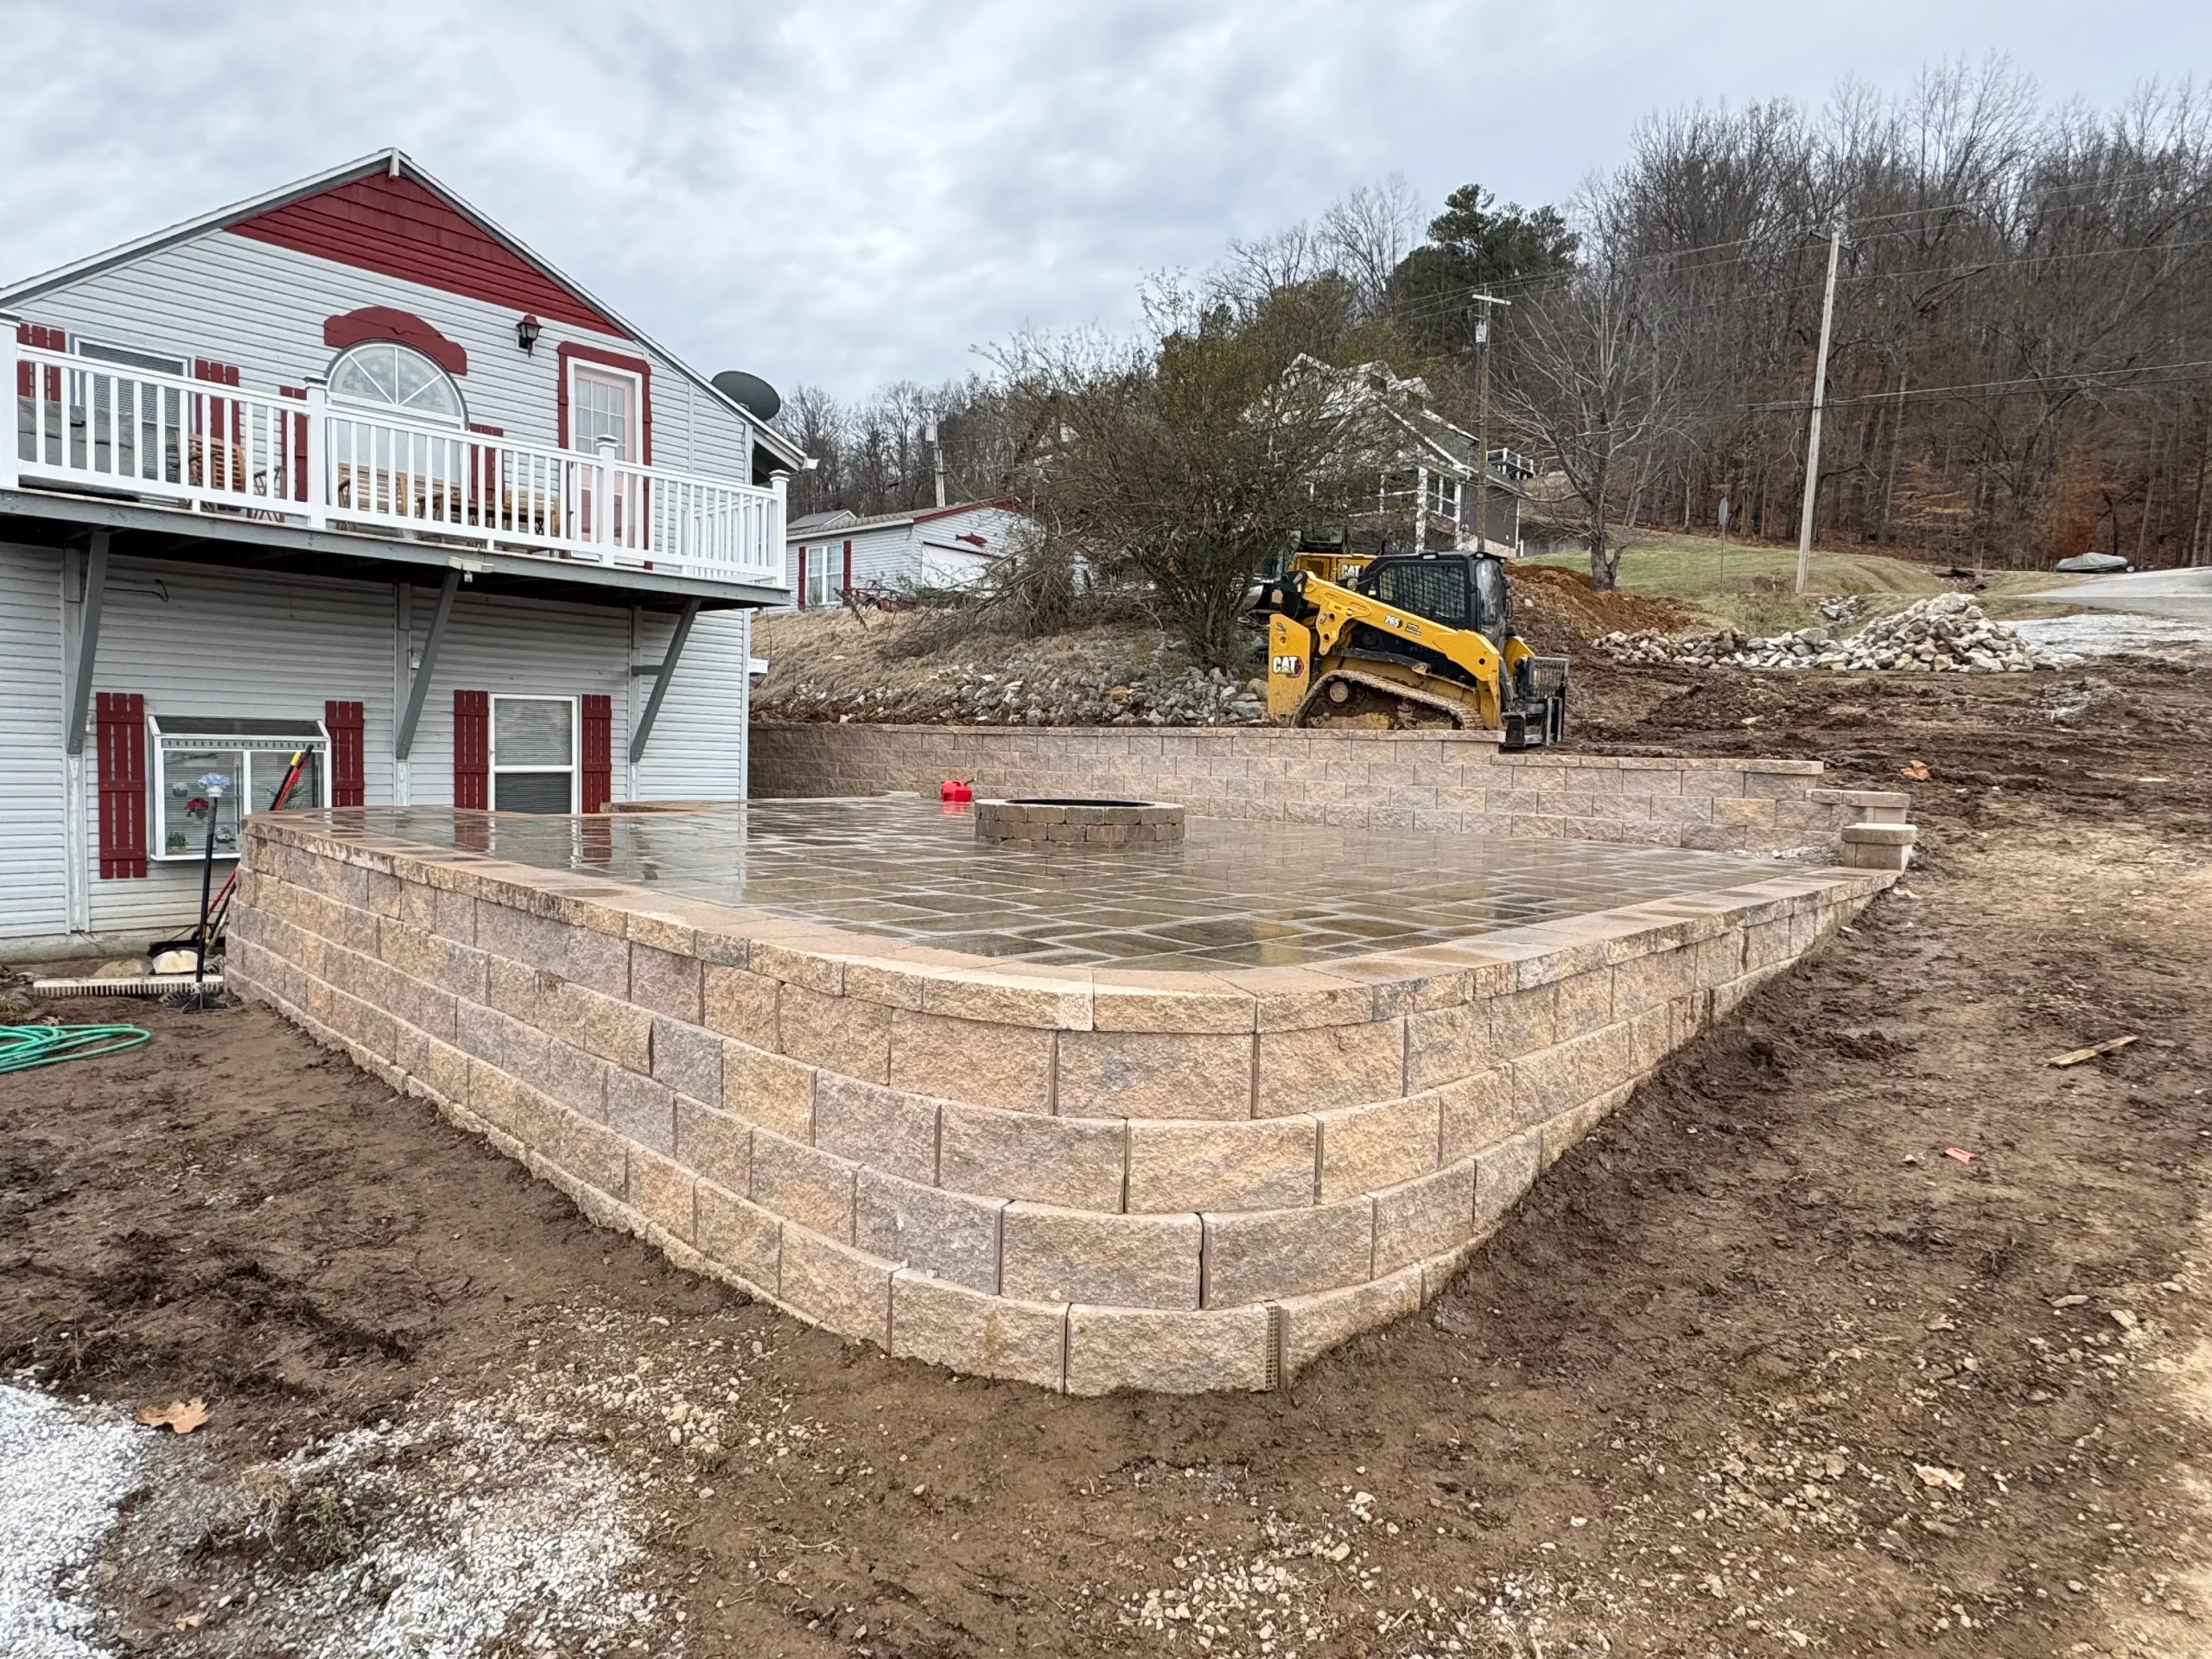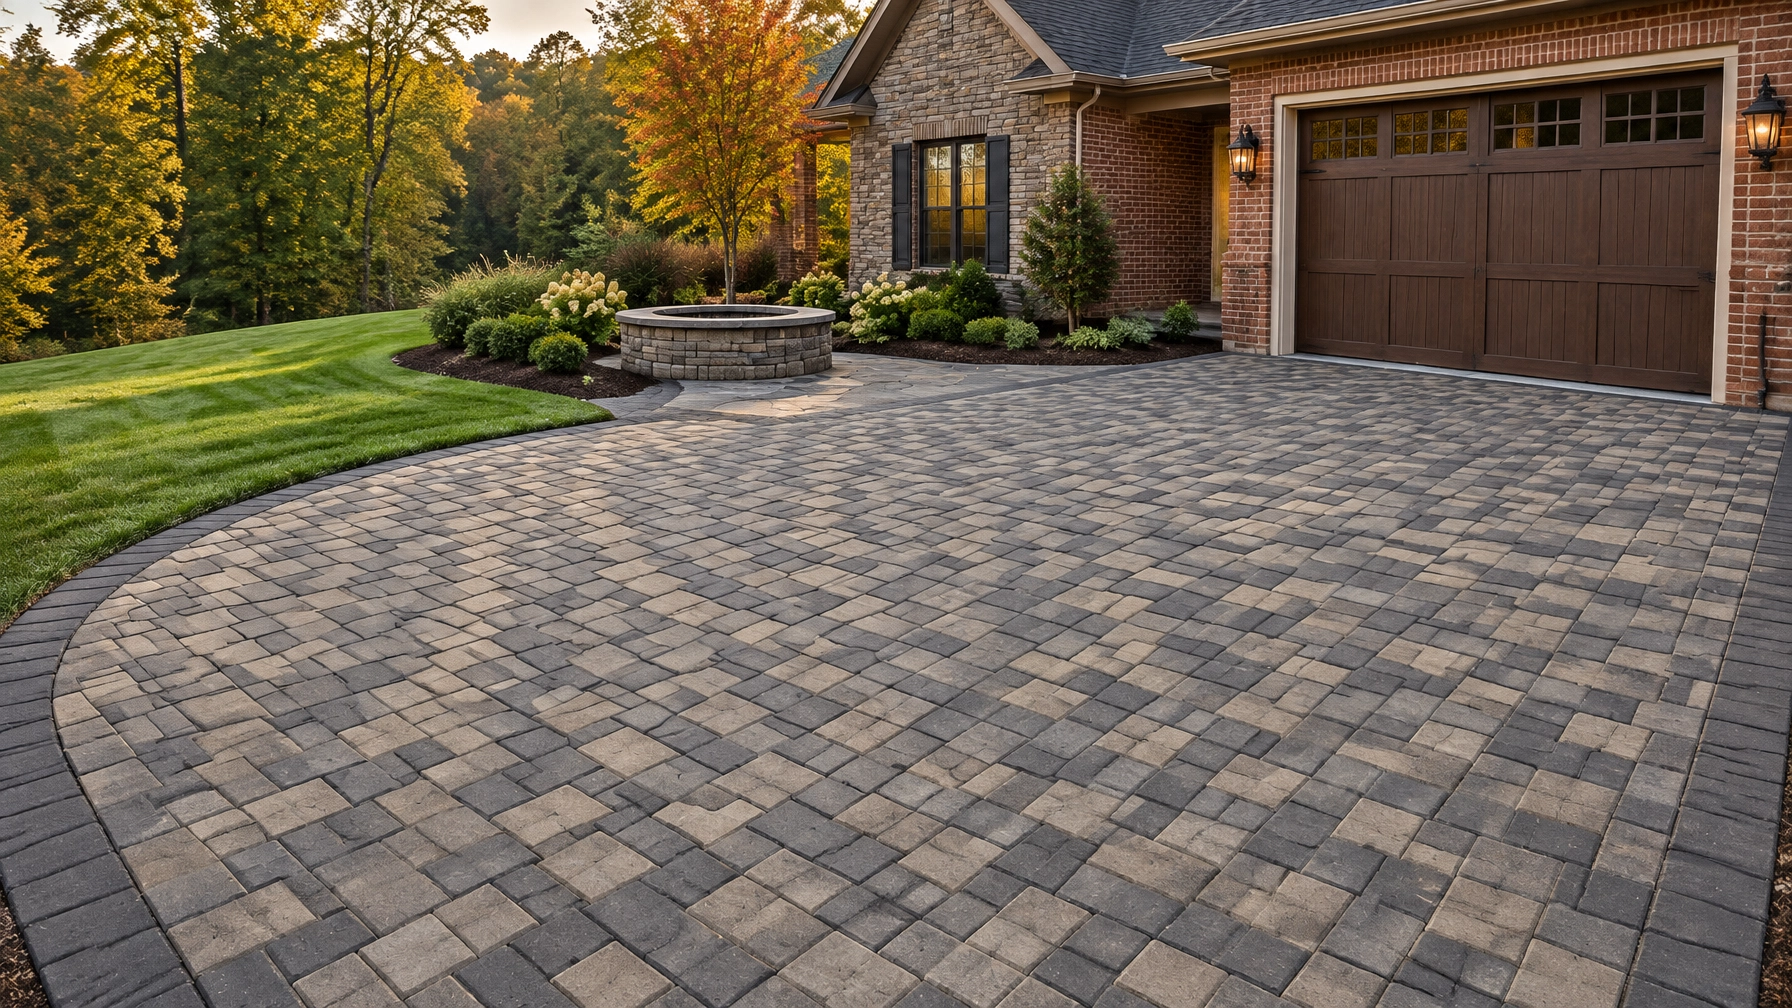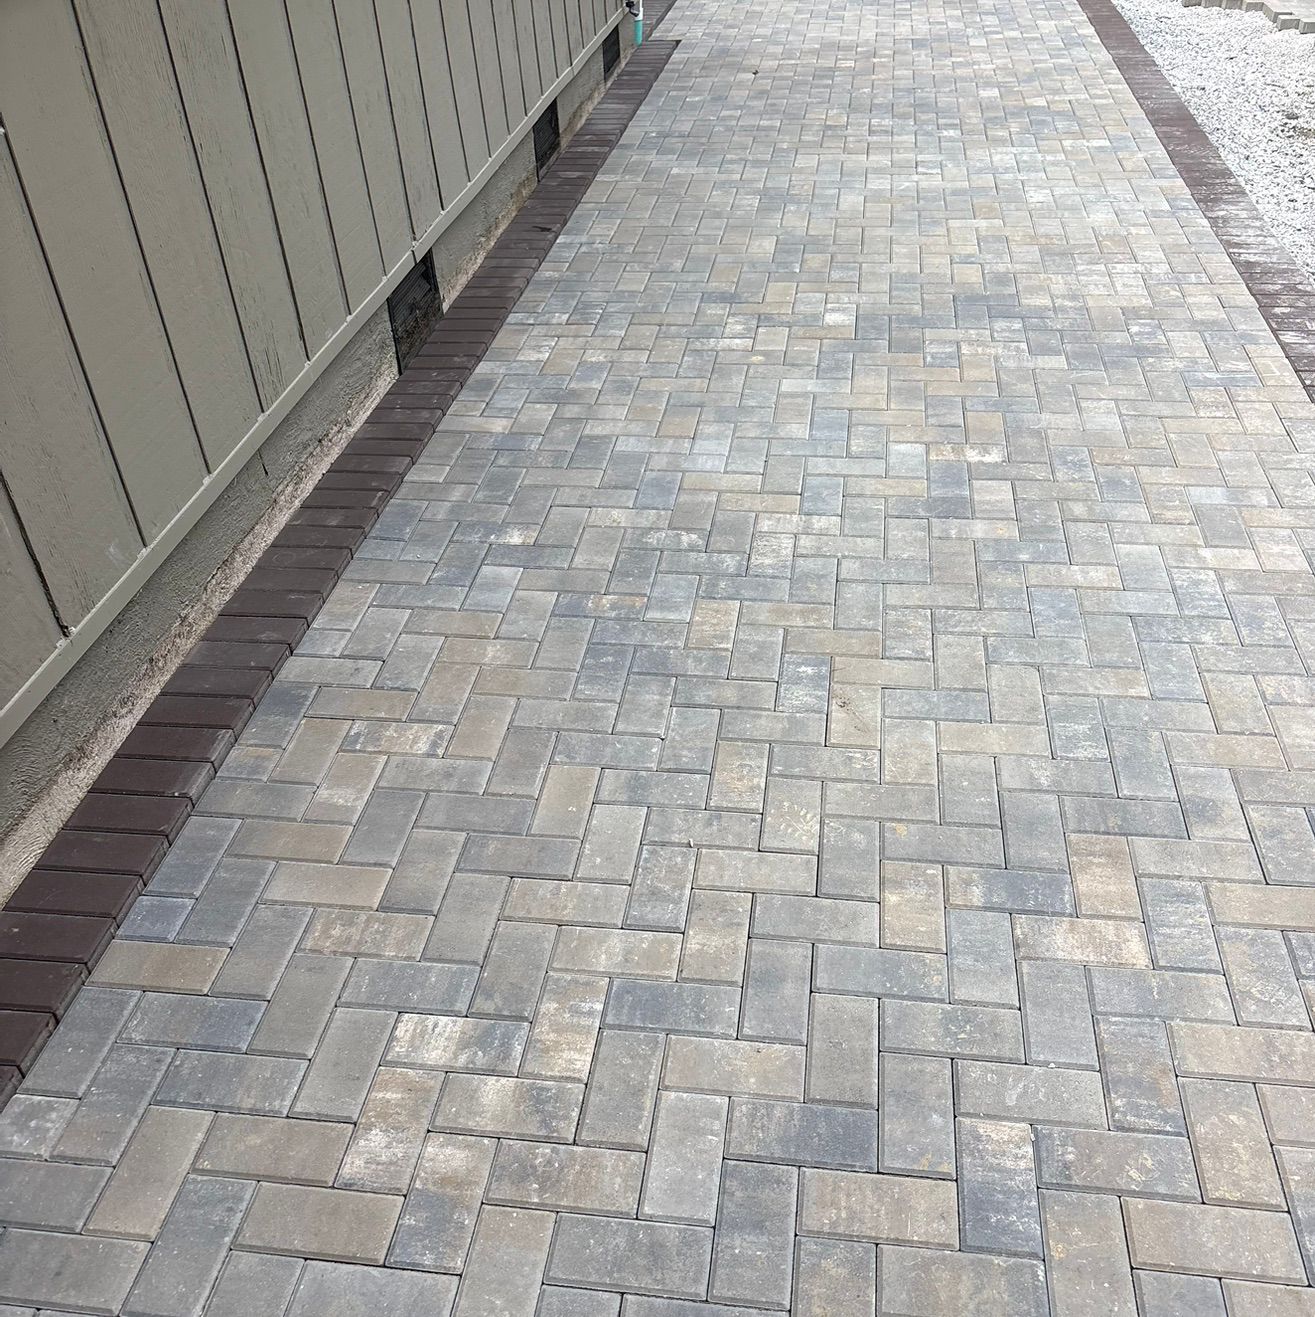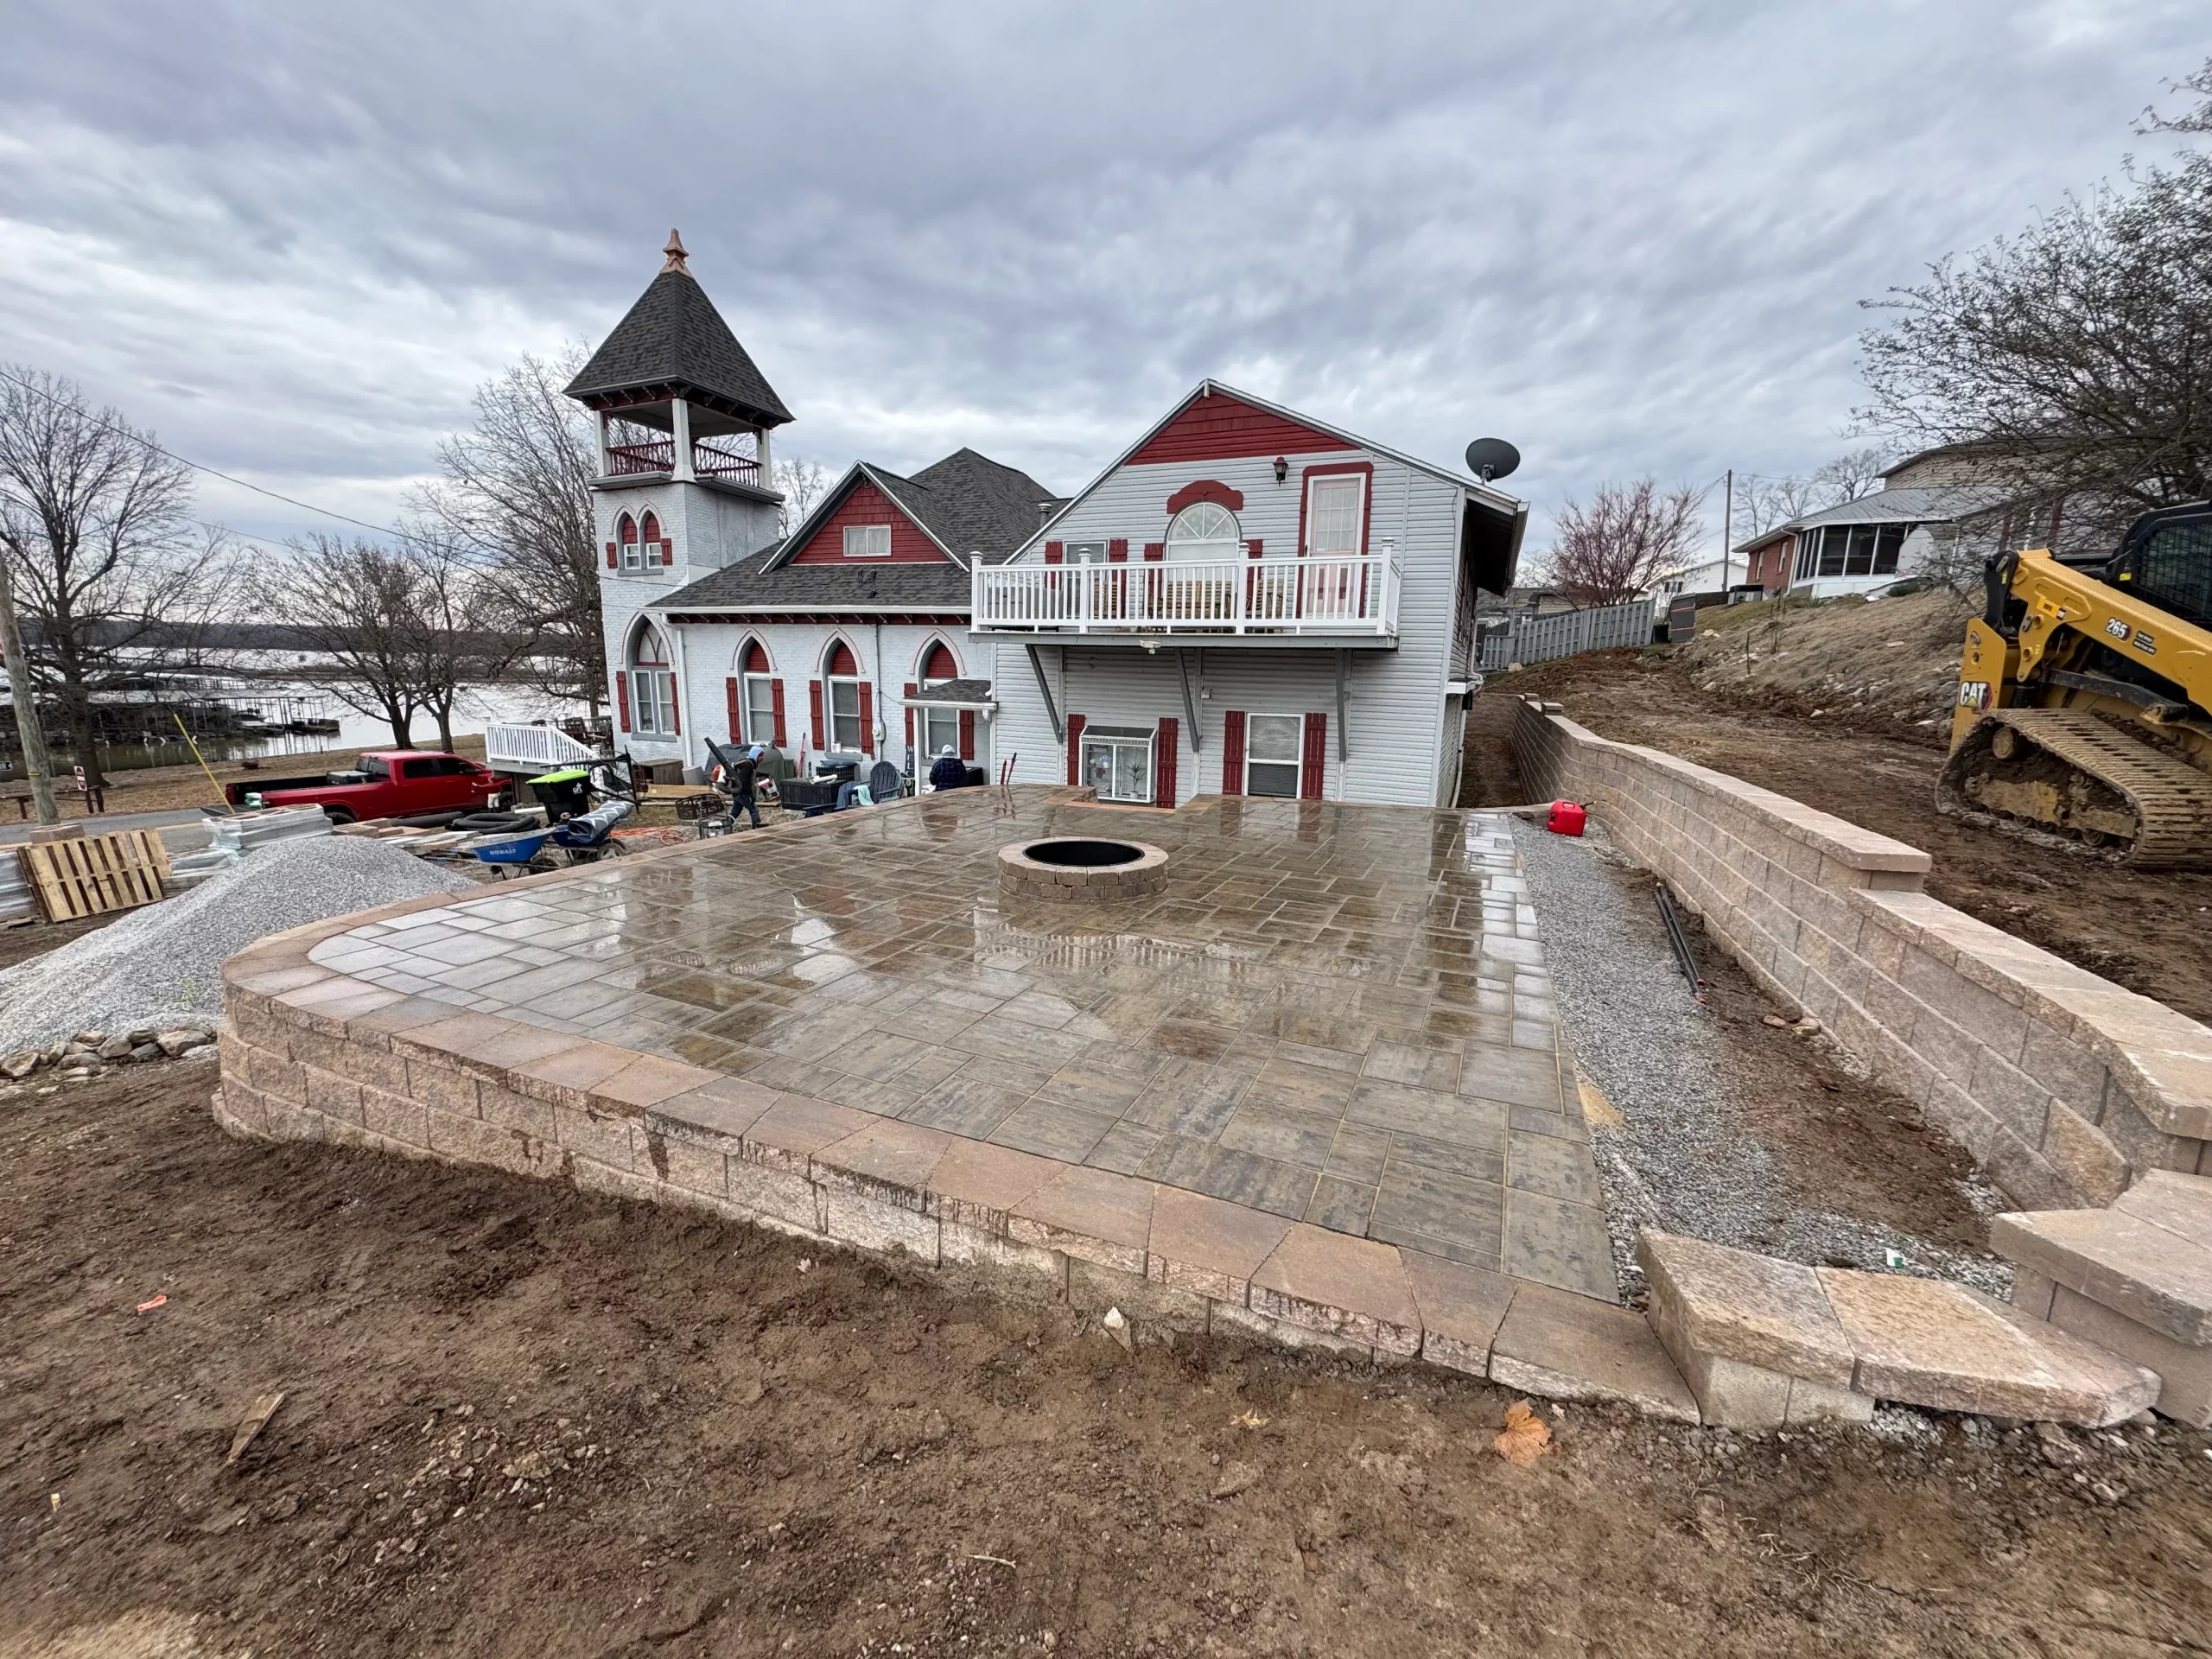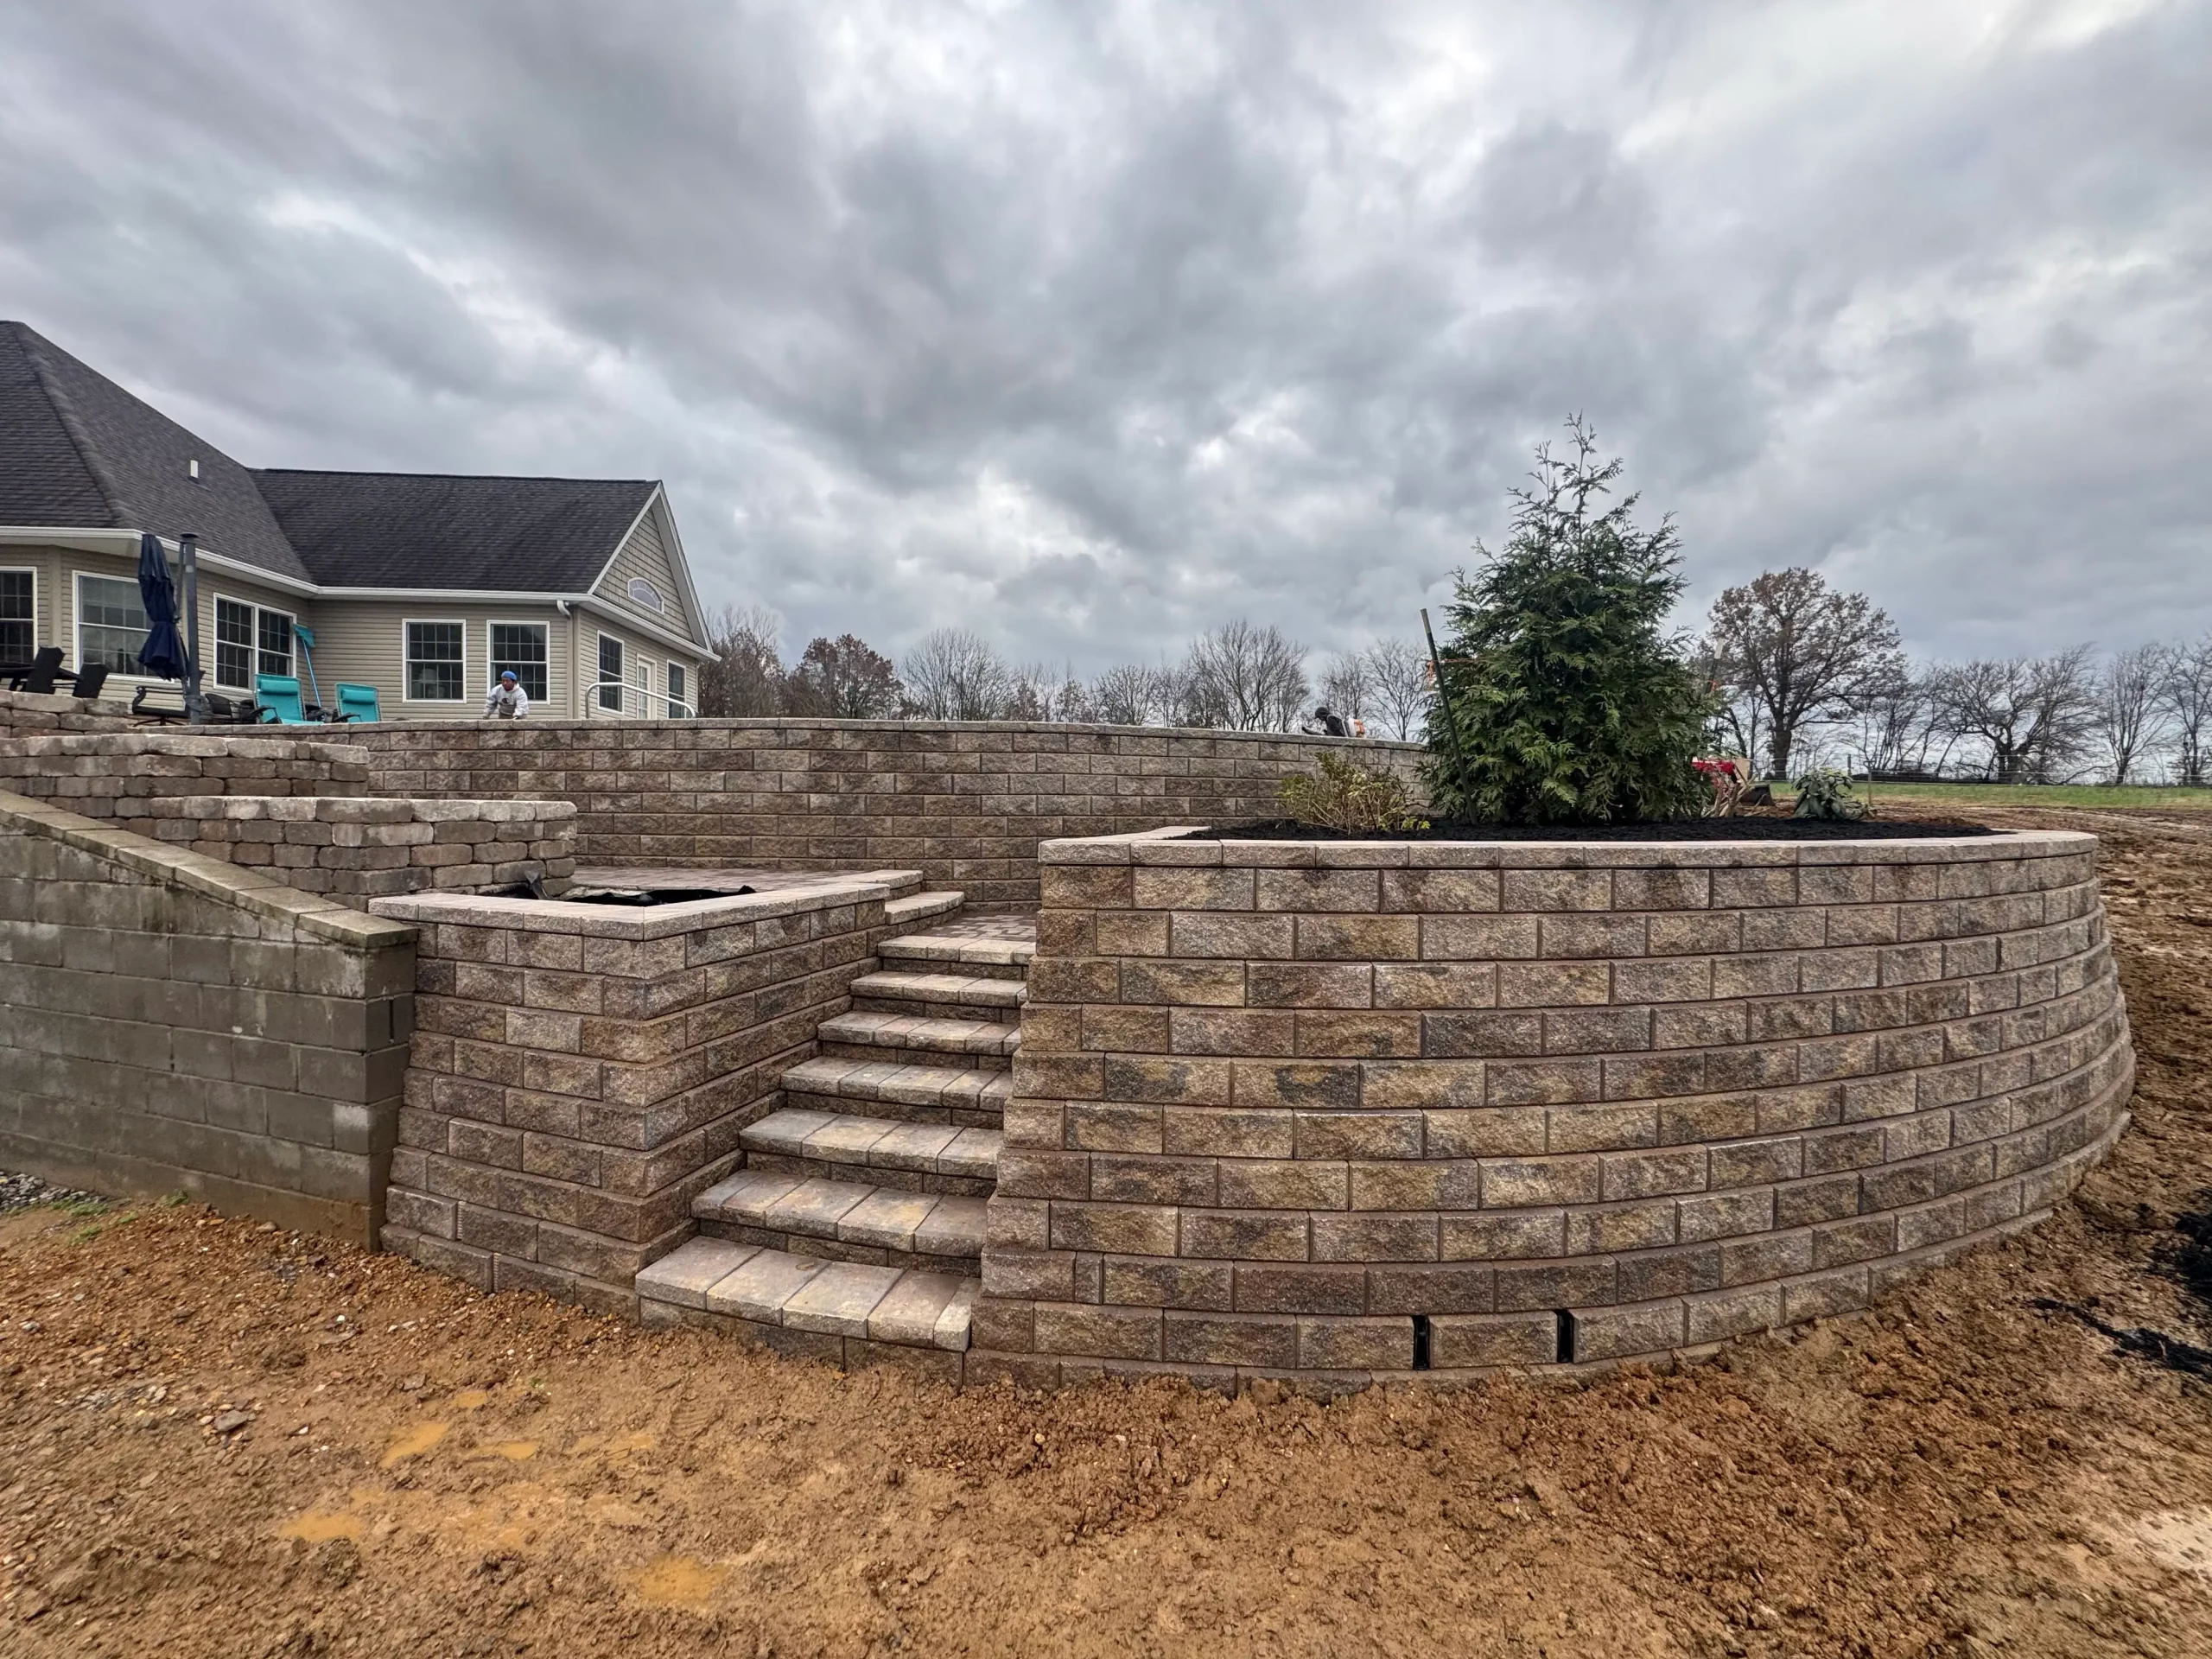
A retaining wall does not need to collapse before it becomes a problem.
If your wall is leaning, bulging, holding water, or showing movement at the top course, winter may push it further. In Western Kentucky, fall rain, wet clay soils, and repeated freeze-thaw cycles can turn a minor-looking issue into a major retaining wall repair by spring.
The smart move is simple: inspect it now.
You can check the visible warning signs yourself in a few minutes. If something looks wrong, call a professional before digging, prying, or trying to reset blocks on your own.
/ Dept 01: Why Winter Changes the Risk
Water behind the wall is the problem. Freeze-thaw gives it leverage.
Water gets into the soil behind the wall, the joints between units, and small openings around caps or drainage outlets. When temperatures drop, that water freezes and expands. When it thaws, it leaves loosened soil and small voids behind.
Then the cycle repeats.
Each freeze can push the wall slightly. Each thaw can leave the soil settled in a new position. Over time, the wall may lean, bulge, rotate, or separate.
Western Kentucky clay adds another concern. Clay soil holds water and drains slowly. When it becomes saturated, it can swell and create more pressure behind the wall. A wall that appears stable during a dry October may be under much more stress after weeks of rain and freezing nights.
Spring is often when stressed walls finally let go.
What looks minor in October can become a rebuild by March.


/ Dept 02: Warning Signs to Check Now
Do not judge a wall only by whether it is still standing.
Walk the full length of the wall from ground level. Look for changes in alignment, drainage, and the relationship between the wall and the surrounding soil.
Watch for:
-
Leaning, bulging, or rotating sections
Sight down the wall from each end. A wall that no longer follows a straight line may be moving. Pay special attention to visible bulges where the wall is tallest. -
Water pooling at the base or in front of the wall
Standing water near the toe of the wall can indicate poor drainage, a blocked outlet, or a low area that is keeping the base saturated. -
Cracked, loose, or shifted capstones
Caps that are cracked, tilted, or separating from the course below may be responding to movement in the wall, not just surface wear. -
Movement at the top course
Look for gaps, uneven lines, or sections that appear pushed outward. Movement at the top can be an early sign of pressure behind the wall. -
Soil washing out from behind the wall
Check for channels, exposed drainage stone, disappearing soil, or small voids along the upper edge. Water may be moving through the wall where it should be controlled. -
Gaps opening between units
New or widening spaces between blocks, stones, or masonry joints deserve attention. -
Efflorescence or staining
White mineral deposits, dark staining, or persistent damp areas can show that water is moving through or remaining behind the wall. -
Sinking or settling sections
A low spot in the cap course, a step that has dropped, or a section that no longer looks level may point to movement in the base. -
A visible bulge at the tallest point
This is one of the clearest signs that lateral soil pressure is concentrating in a weak area.
Do not assume a clean-looking wall is structurally sound. Most of the important work is behind the face, where you cannot see the base, drainage stone, pipe, or reinforcement.


/ Dept 03: The Safe Homeowner Check
Inspect what you can see. Do not disturb what is holding the slope together.
You can safely inspect your wall from the ground without special equipment.
- Stand back and look down the wall line from both ends. Check for lean, rotation, or a belly in the face.
- Look across the capstones for uneven sections, loose pieces, cracks, or new gaps.
- Check the ground in front of the wall for ponding water, soft areas, erosion, or washout.
- Look behind the wall where accessible. Note soggy clay, exposed pipe, soil loss, or water flowing toward the wall.
- Inspect the bottom course for gaps beneath blocks, undermined soil, or signs that the base has shifted.
- Take photos from the same positions you can use later to compare movement.
That is where the homeowner inspection should stop.
Do not start digging behind the wall. Do not pry blocks out to see what is underneath. Do not pull out drainage material or excavate at the base without understanding how the wall is supported.
Those actions can remove the soil or aggregate that is currently helping hold the wall in place. They can accelerate failure.
If you see significant movement, keep people, vehicles, and heavy materials away from the top of the wall until it can be evaluated.
/ Dept 04: What Proper Retaining Wall Repair Involves
The visible block is only one part of a retaining wall installation.
A proper repair or rebuild begins by identifying why the wall moved. The contractor needs to evaluate the base, drainage, soil, wall height, slope above the wall, nearby loads, and any changes made since the original construction.
Depending on the failure, the work may involve:
-
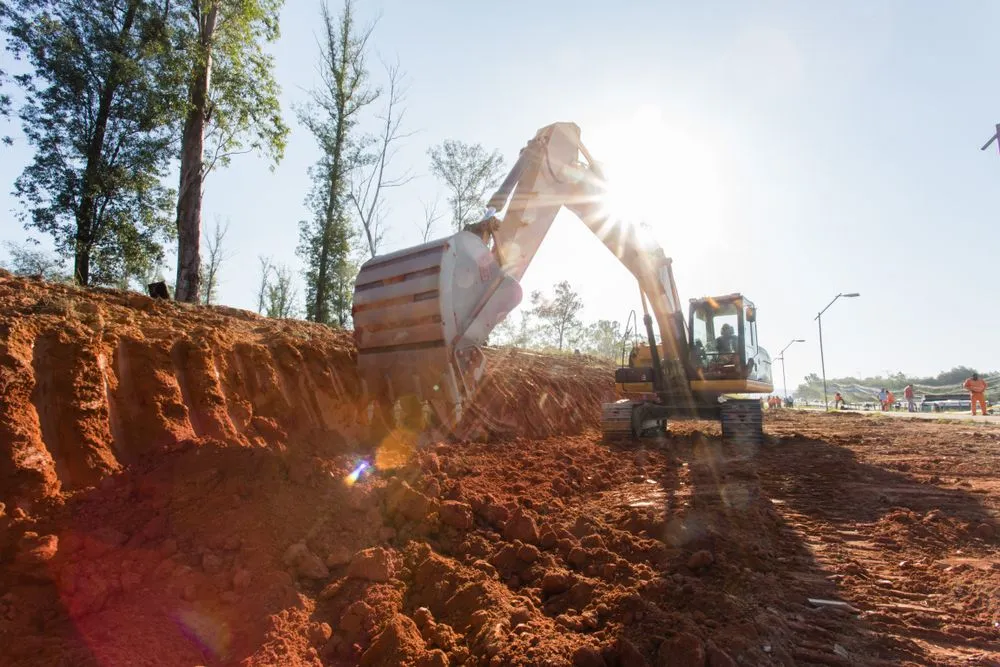
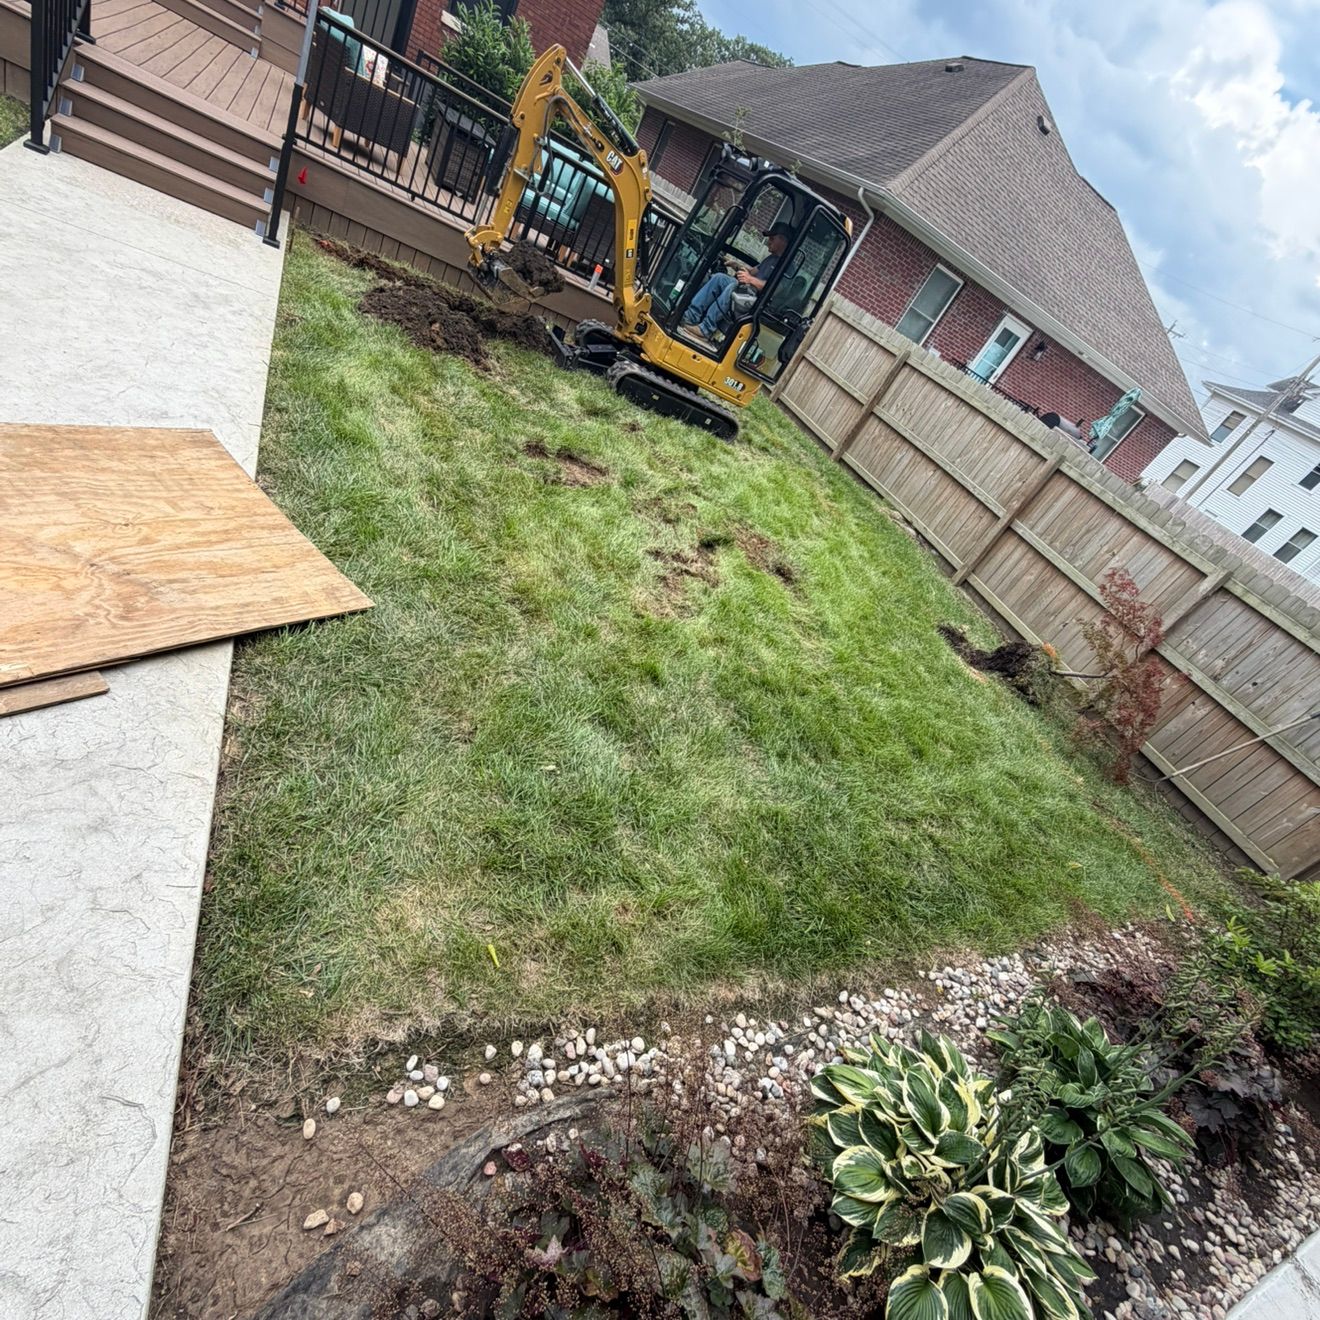
Excavating past the failure zone
Loose, wet, undermined, or unsuitable material may need to be removed before rebuilding begins. -
Preparing and compacting the aggregate base
The first course needs a stable, properly leveled foundation. Loose stone placed over soft clay is not enough. -
Installing drainage stone behind the wall
Clean, free-draining aggregate gives water a path that wet clay cannot provide. -
Installing perforated drain pipe
A properly placed pipe can collect water behind the wall and direct it to an appropriate outlet. -
Adding geogrid reinforcement where site conditions require it
Geogrid may be necessary when the wall is taller, the slope is steep, the soil is weak, or a driveway, patio, structure, or other load is near the top. -
Restoring correct batter and setback
The wall must be rebuilt with the correct backward lean and alignment for the selected system. -
Rebuilding the cap course and finishing transitions
Caps, steps, grades, patios, and planting areas must be tied back into the wall without sending water toward it.
Most failed walls did not fail because of the block. They failed because of what was not done behind the block: inadequate excavation, poor compaction, missing drainage, incorrect backfill, or insufficient reinforcement.


/ Dept 05: Repair or Rebuild?
Patching a structurally failed wall is money wasted.
A repair may make sense when the problem is localized and the wall itself remains stable. Examples can include:
- A limited capstone issue
- A small area of surface damage
- A localized section of shifted material
- A drainage outlet that is blocked or poorly directed
- Minor erosion that has not undermined the base
A rebuild is usually the more honest answer when:
- The wall has rotated or visibly tipped
- The base has settled or washed out
- Multiple courses are moving
- The wall is bulging through a large section
- The drainage system is missing or has failed
- The reinforcement has failed or cannot be verified
- The wall is carrying a slope, driveway, patio, deck, or other significant load
A contractor who simply resets the face without correcting the cause may give you a cleaner-looking wall for a short time. That is not the same as correcting the failure.
For larger or heavily loaded walls, the project may also require an engineered solution. Our engineered retaining wall solutions guide explains why soil, drainage, height, and surcharge loads matter.
/ Dept 06: Lakefront Walls Need a Closer Look
Water movement is not limited to the ground directly behind the wall.
Properties near Kentucky Lake and Lake Barkley often have steep grades, changing drainage patterns, difficult access, and slopes that carry water toward the shoreline or lower parts of the property.
If your retaining wall supports a lake-facing patio, steps, driveway, or terrace, inspect it with the entire slope in mind. Look for erosion above and below the wall, concentrated runoff, soft soil, and drainage that has changed since the wall was installed.
A lakefront wall showing movement deserves a professional inspection sooner rather than later.
For background on how material choice affects drainage, slope performance, and freeze-thaw conditions, read our retaining wall material guide.
/ Dept 07: Why Winter Is a Good Time to Call
Walls do not fix themselves while the ground is frozen.
Getting a wall inspected in fall or early winter gives you more options. You may be able to correct drainage, plan a repair, schedule a rebuild, or address an unsafe area before spring runoff exposes the problem.
Waiting until a section collapses usually means more excavation, more cleanup, and a more disruptive project.
The Muscle is a Unilock Authorized Contractor. For you, that means access to Unilock materials and manufacturer-backed support when the selected system fits your project. Our team stays involved during the work, and we carry insurance and professional training relevant to hardscape installation.
We also provide a 2-year workmanship warranty. It covers our installation workmanship. It does not cover failures caused by others’ construction, missing or blocked drainage, roots, or structural changes made after our work.
If you are comparing retaining wall contractors near you, ask how each contractor handles the work below grade, not just the finished appearance.
Call Before the Wall Moves Further
If you see leaning, bulging, pooling water, shifted caps, soil loss, gaps, or settling, call The Muscle for a retaining wall inspection.
We serve homeowners and property owners across Western Kentucky, including Paducah, Murray, Benton, Calvert City, Kentucky Lake, Lake Barkley, and surrounding communities.
Call The Muscle at (270) 248-9790 or visit themusclelandscaping.com.
Tell us what you are seeing. We will look at the wall, explain what may be happening, and discuss whether it needs maintenance, retaining wall repair, or a full rebuild.
Zero obligation. No pressure. Just a straightforward conversation before winter makes the decision for you.